Rendering & Coating to Add Dimension to Your Property on the Brisbane and Surrounding Areas
- / Rendering Coating
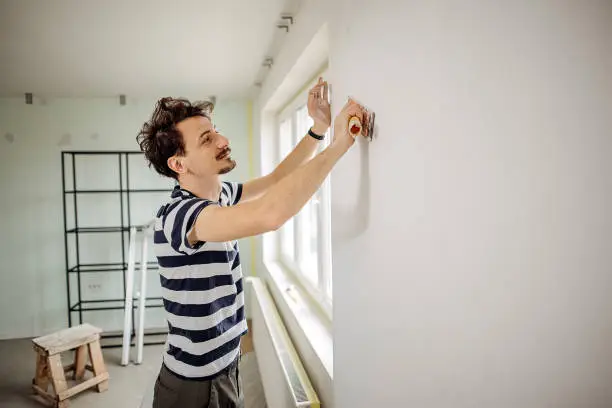
Surface Preparation
Cleaning: Ensure the surface is clean, free from dust, dirt, grease, and other contaminants. This is crucial for adhesion.
Repairs: Fill any cracks or holes with appropriate filler or plaster. If required, use bonding agents for a stronger adhesion between the surface and the render.
Priming (optional): Depending on the type of surface (e.g., bare concrete or plaster), a bonding primer may be applied to improve adhesion.
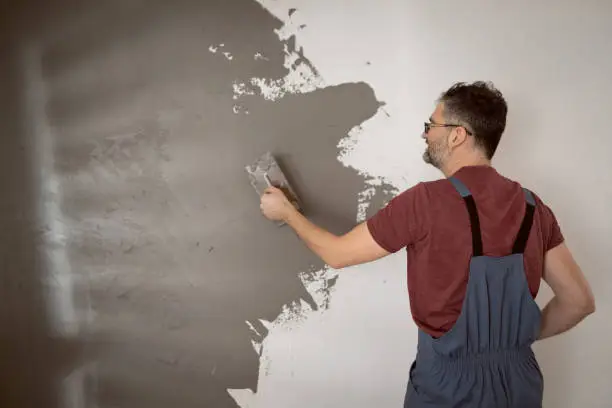
Rendering
Mixing the Render: A render mixture typically consists of cement, lime, sand, and water. The mix depends on the surface and weather conditions.
Application: The render is applied in layers. For external walls, a base coat (scratch coat) is first applied, followed by a finishing coat. The base coat provides strength, and the finishing coat gives the final smooth finish.
Smoothing: After the render is applied, it should be smoothed and leveled with a trowel. For textured finishes, the surface can be worked further to achieve the desired texture (e.g., rough, sponged, or smooth).
Curing and Drying
Curing the Render: The render needs to cure properly to harden and set. This can take a few days depending on the thickness of the render and environmental conditions. Keeping the render moist during curing can help prevent cracking.
Drying Time: Wait for the render to dry completely before proceeding with the coating or painting. Drying times will vary, but it’s generally 24 to 48 hours.

Coating (if applicable)
Painting or Finishing Coats
- Priming the Surface: Before painting, apply a primer designed for the rendered surface. This step ensures better adhesion of the paint and improves the longevity of the finish.
- Applying the Paint: Choose the right paint for your surface (e.g., masonry paint for external rendered walls). Apply the paint using a roller, brush, or spray gun, depending on the area and finish you desire. Typically, two coats of paint are required for full coverage.
- Finishing Touches: Once the paint is applied, allow it to dry thoroughly. After drying, inspect the surface for any touch-ups or areas that may need an additional coat.


Final Inspection & Cleanup
Check for Imperfections: Inspect the render and paint for any imperfections like cracks, uneven surfaces, or missed spots.
Cleaning the Area: Clean all tools and remove any paint drips or splashes from surrounding surfaces. Ensure the area is tidy before completing the job.